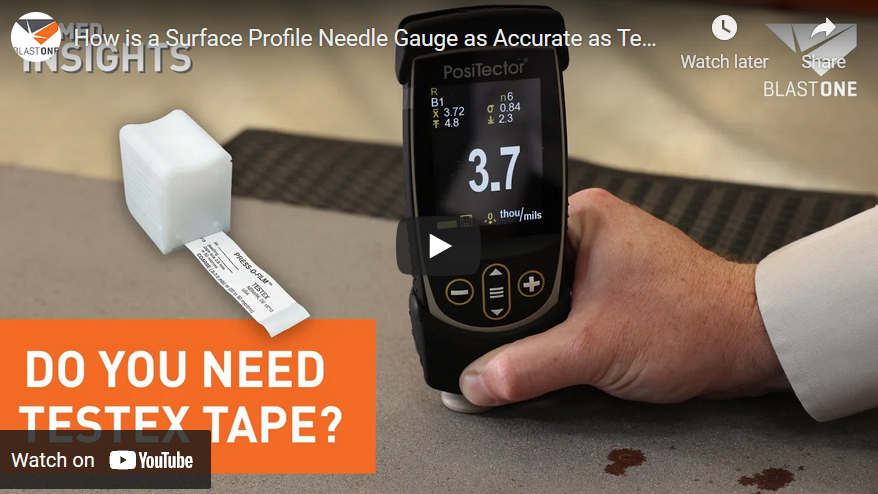
Accurately measuring the surface profile of a blast-cleaned surface is critical to ensuring the effectiveness of subsequent coatings and treatments. Testex tape offers a reliable method for capturing surface profiles, and when used correctly, can deliver precise measurements that meet industry standards. This guide walks you through the steps for preparing your test site, performing the test, and measuring the results, ensuring you avoid common errors and achieve consistent accuracy.
Surface Profile Measurement 101: How to Use Testex Tape
Test Preparation
- Select a Clean Test Site: Ensure the area is free from dust, dirt, and pitting to avoid contamination that could skew results.
- Choose the Right Grade of Tape: Refer to the specifications in your Inspection Instruments to match the tape to your desired measurement range.
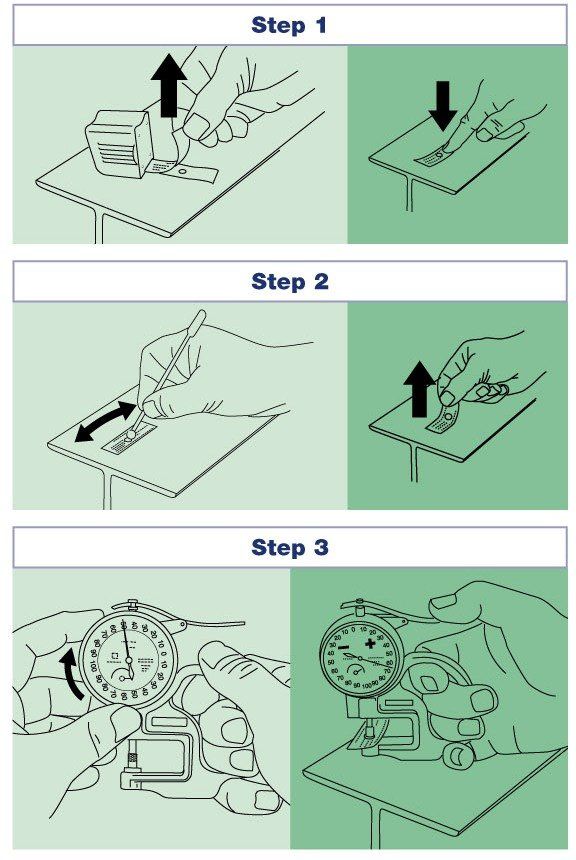
- Prepare the Tape: Peel a strip from the roll, ensuring the ‘bull’s-eye’ marker remains on the slip paper.
- Apply the Tape: Adhere the tape to the test surface and press firmly with your finger to secure it.
Performing the Test
- Burnish the Tape: Using a round-tip burnishing tool, rub the test window with moderate to firm pressure. Ensure the entire window uniformly darkens, indicating that the surface profile has been fully impressed into the tape.
- Remove the Tape: Carefully peel the tape from the surface to prepare for measurement.
Measuring the Test Result
- Prepare the Gauge: Clean the anvils of your dial thickness gauge and adjust the zero point as necessary. Set the dial to minus 2 mils (50 microns) to compensate for the tape carrier film thickness.
- Measure the Tape: Center the test tape between the anvils, allowing them to gently close on the tape. Note the reading on the dial and repeat several times, repositioning the tape between each reading to ensure accuracy.

Sources of Error
There are four major sources of error in determining the profile of a blast cleaned surface, which can be minimized with the following suggestions.
- Surface Profile Variation: Conduct multiple tests across the surface area (3 tests per 100 square feet) to account for natural variations.
- Contaminants: Always use a clean surface and check both the tape and anvils for debris before testing.
- To indicate the size significance of seemingly tiny contaminants, please note that human hair is approx. 2 mils (50 microns) thick.
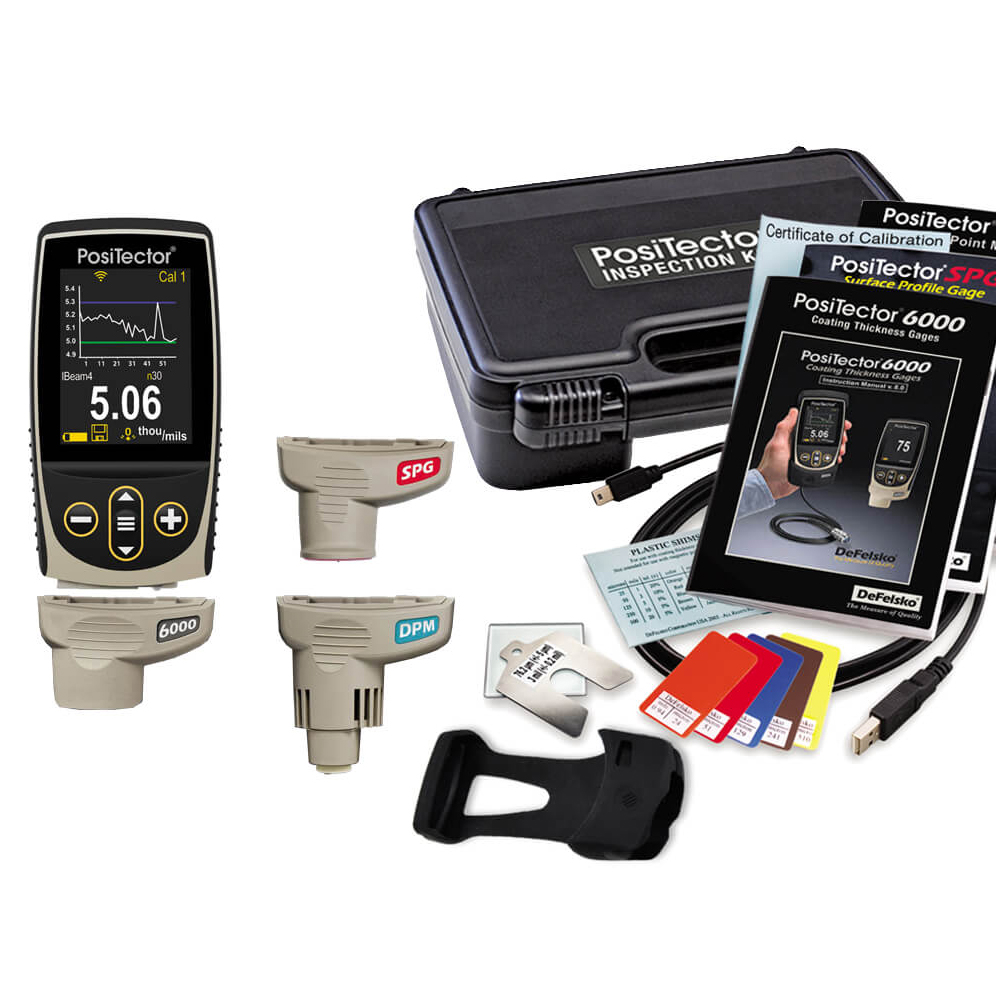
- Gauge Accuracy: Ensure your gauge meets the required specifications for accuracy and anvil size.
- Accuracy of ±0.2 mils (±5 microns)
- Closing force of 1.5N
- One anvil 0.25” (6.3mm) diameter
- Burnishing Technique: Use a profile training tool to confirm your technique is correct
 My Account


