-
Battery Isolator: This handy switch disconnects the battery from the engine’s power source. If you experience starting problems, always check the battery isolator to ensure it’s in the “on” position. For your convenience, it’s usually labeled and easy to locate.
-
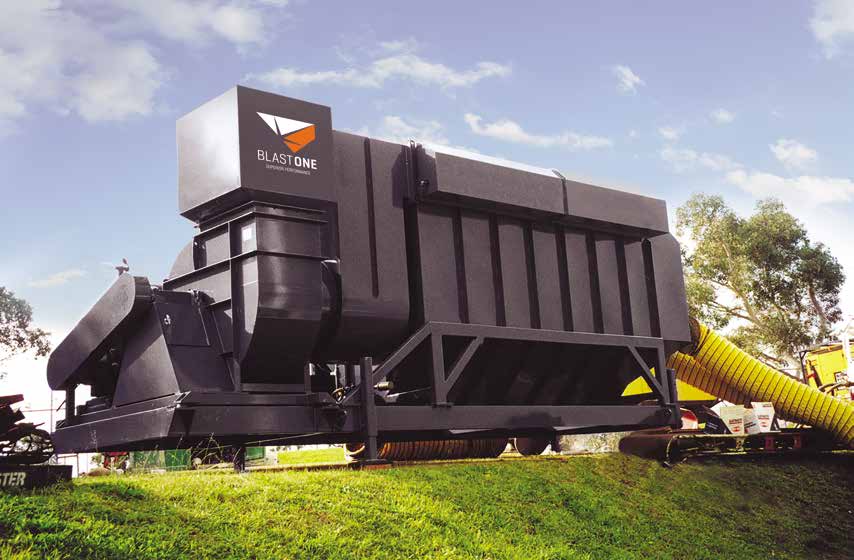
Main Drive Shaft and Fan: Locate the main drive shaft that connects to the fan. On the top of this shaft, you’ll find two additional grease points. Some models might have caps covering these points, so make sure they’re not missing. Apply grease daily to ensure proper lubrication and prevent premature wear and tear.
-
Auger Shaft and Twin Disc Unit: On the opposite side of the ducting (near the front), there’s another grease nipple for the auger shaft. Additionally, the twin disc unit, which acts as a clutch, has two more grease nipples. In total, your dust collector likely has six lubrication points that require daily attention. Regular greasing is crucial for maintaining optimal performance and preventing premature equipment failure.
By incorporating these checks into your daily routine, you can ensure your high-capacity dust collector operates at peak efficiency for an extended period. Remember to refer to your user manual for specific maintenance schedules and lubrication recommendations.
 My Account


